A lot of my ideas stem from something I see on Pinterest or TV, or stores. I have always wanted to have wreaths to hang on my front door for the Holidays. Now that we have our own house, I figure its the best time to do it. I found these pictures on Pinterest and wanted to do something similar to them.
However, this picture did not give directions for how to make the DecoMest Wreath. I had created a wreath for our wedding reception using Burlap, so I thought I could probably handle it, but I am glad that I searched to find a tutorial to help me. I came across this tutorial
Clumsy Crafter to help me get started. I really just used it for the starter steps on the Wreath. After that, I kind of made my own rules to make it work the way I wanted it to!
The supplies I used were:
*Wreath (with pipe cleaners), these are available at craft stores with or without the pipe cleaners
*Hot Glue Gun & Extra Glue
*DecoMesh (I used two rolls)
*Ornaments
*Tinsel
*Deco Tubing Ribbon(Not Pictured here)
*Scissors
*And Possibly extra Pipe cleaners (I didn't have these, however, they would have probably been helpful!)
I purchased all of these items after Christmas last year and got them between 60% and 80% off.
Because of that, this project cost me about $12! Be on the lookout for those after Christmas sales!
And, really the only thing you have to have is the wreath and the DecoMesh. You can add whatever you would like to it, make it your own!
I began by bunching up the Deco Mesh to attach it to the wreath.
Then I attachted the DecoMesh to the Wreath Frame with the pipe cleaner. And started moving around the wreath attaching.
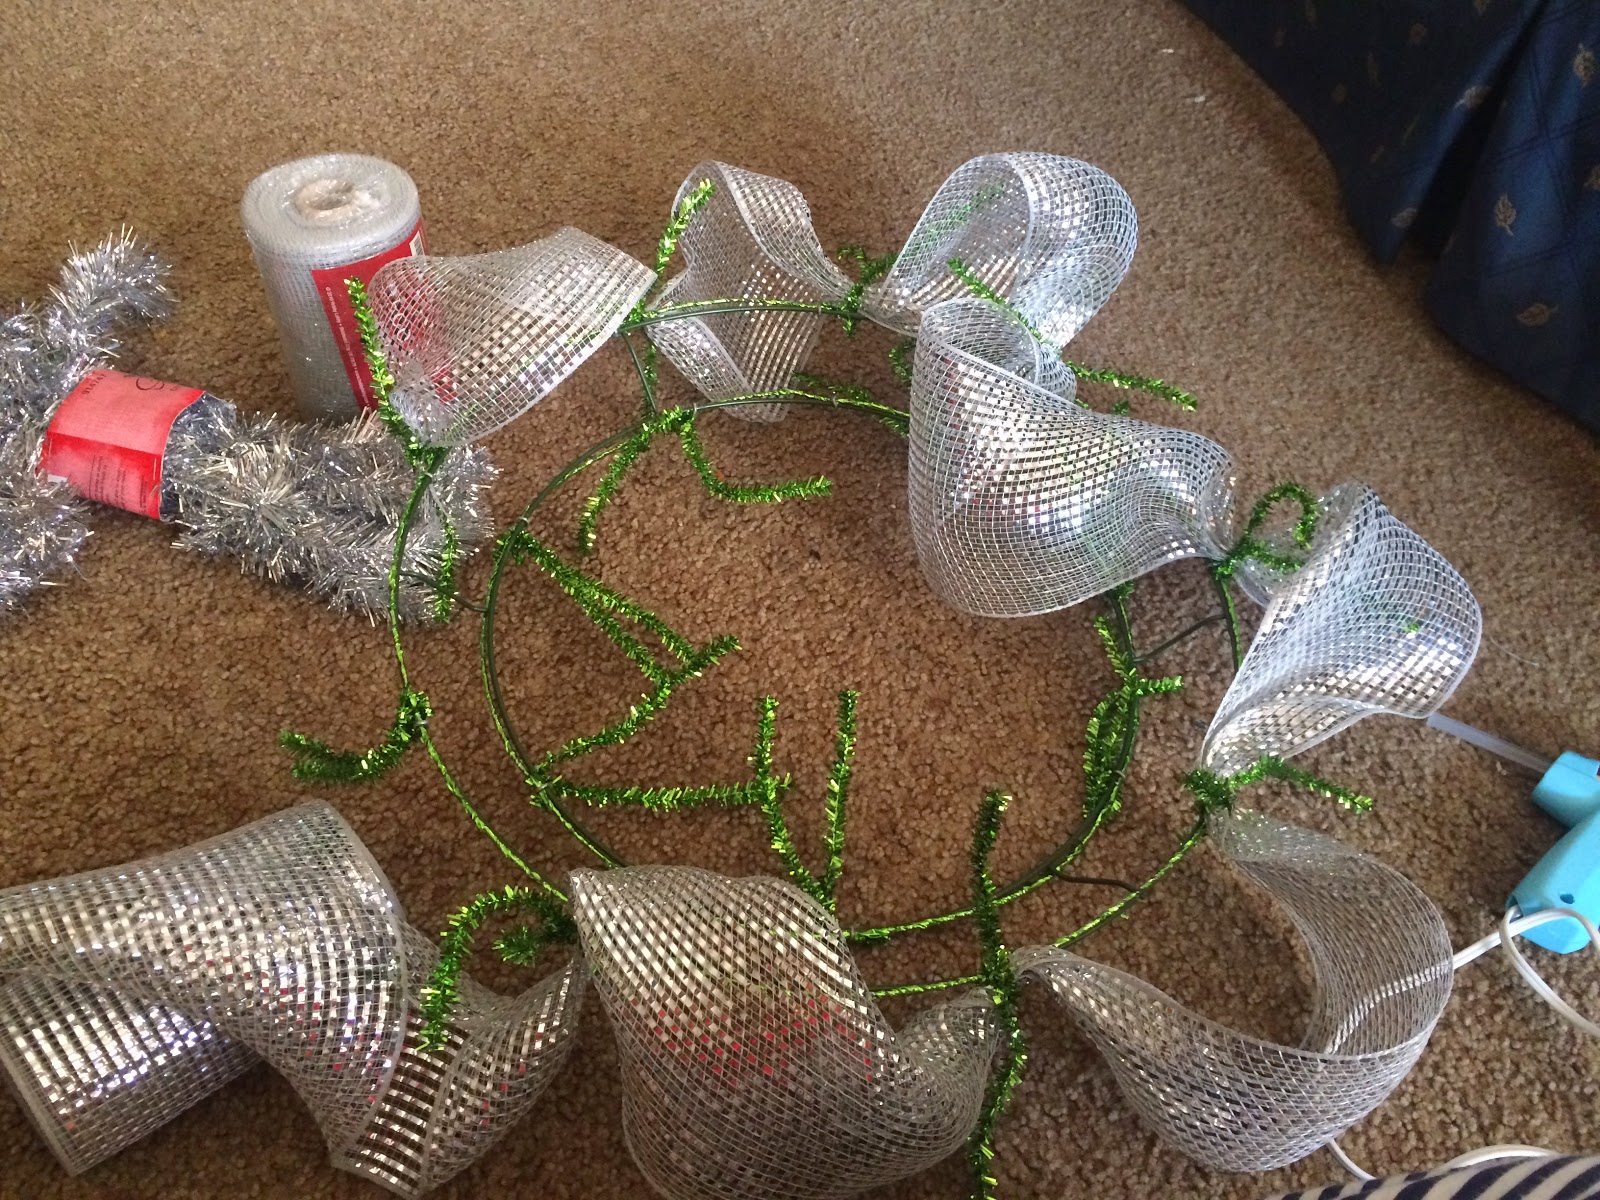 |
| I did this all the way around the wreath, however, I did not measure, which is the beauty of DIY projects, it doesn't have to be perfect or exact! |
I left between 4 and 6 inches between the pipe cleaners to add fullness to the wreath.

I went around attaching another layer to the pipe cleaners giving it more fullness.
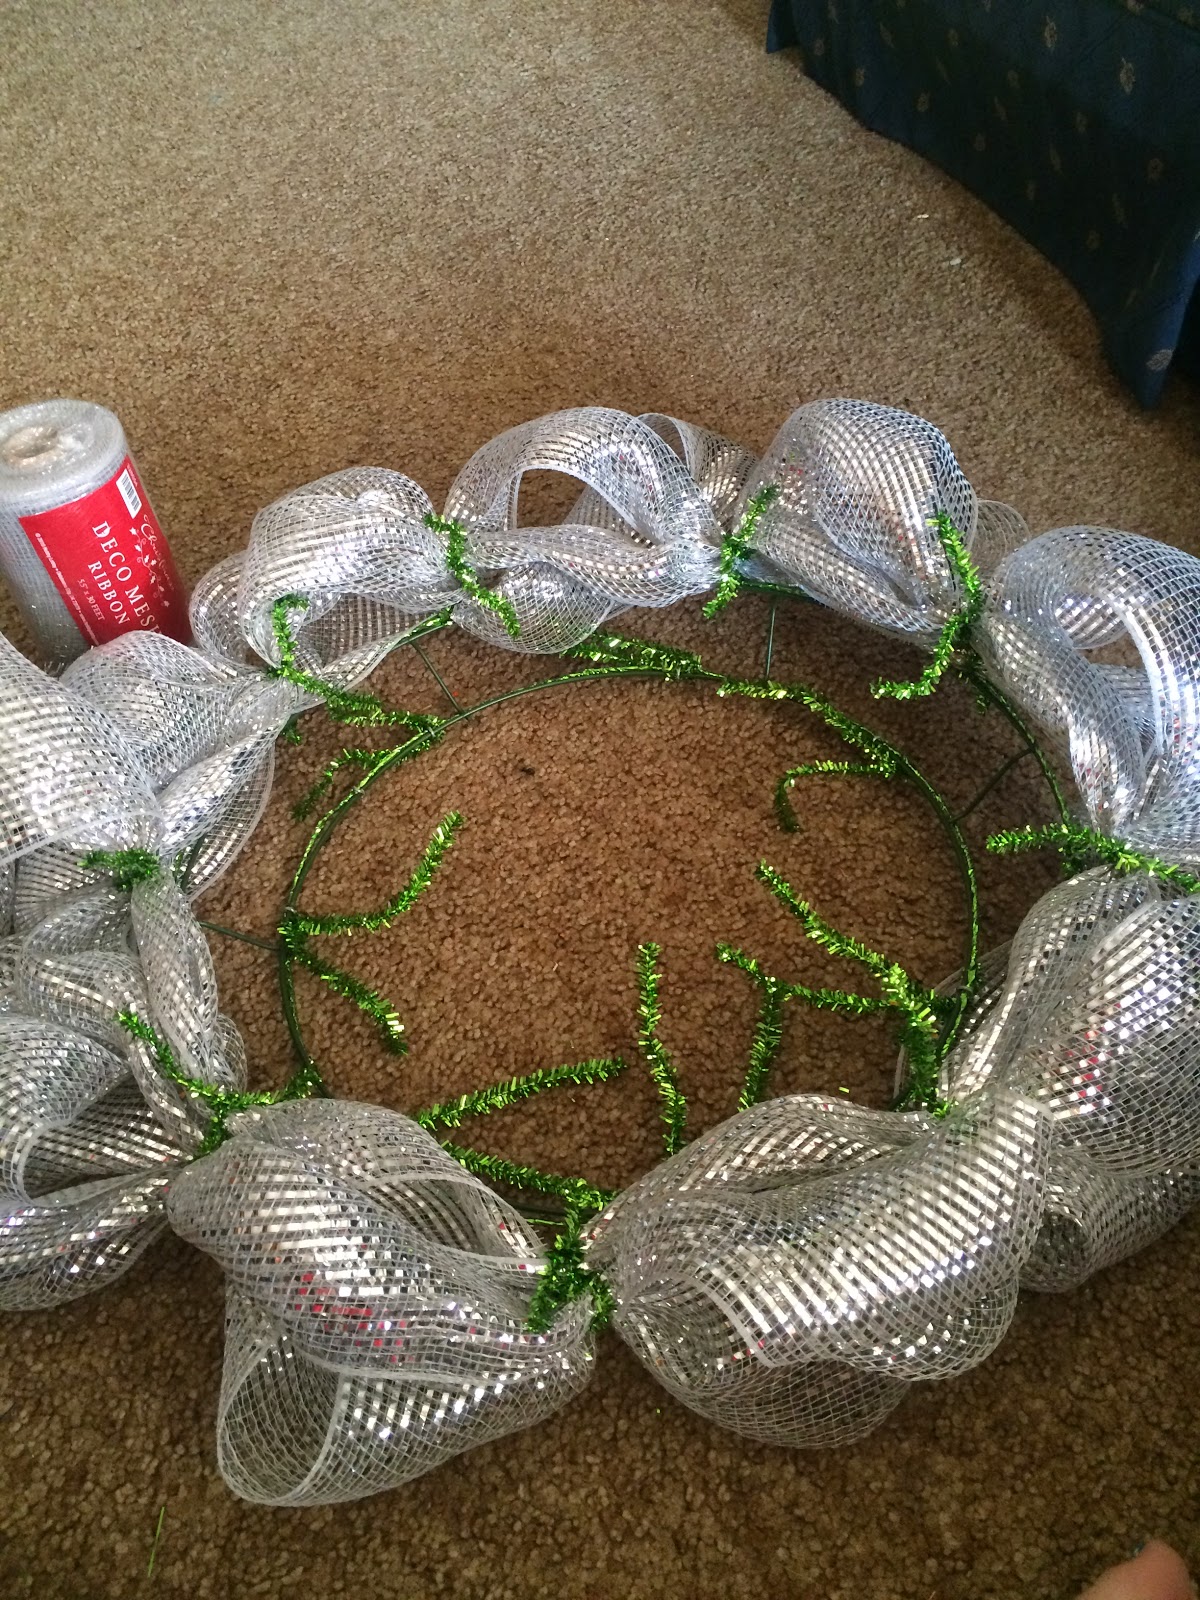
I went around a third layer on the outer layer of the wreath adding to the fullness.
I moved onto the inner part of the wreath. Doing the same thing. I had two different kinds of DecoMesh that I had purchased to give the wreath some more character!

After going around three times, this is what I had achieved. I had to fluff it out some more, but over all, it looked pretty good.

There were a few bare spots so I cut some pieces and pipe cleaner-ed them into place to fill those voids.

After filling the voids, I had a much fuller looking wreath.

Here you can tell the difference in the two Types of DecoMesh. One has more of a shine to it, you can mix them together like I did, or use just one type. Totally your preference.. Remember, make it your own!

I then went back and added some tinsel to it to give it another dimension of texture. I also used the pipe cleaners to attach the tinsel.

After the tinsel was strung and the DecoMesh fluffled again.

Because I decided to used a Green Wreath Frame, I wanted to add some green and had purchased this Deco Tubing Ribbon after Christmas last year ( I figured I'd use it on something!) If you like things to be super matchy-matchy, then I would suggest getting the same color wreath as your DecoMesh.

I attached it with the pipe cleaner and just wound it around the wreath until I had the pop of green I wanted.

After I had it all wrapped around, I tied it to the back of the frame.

Then I placed the ornaments on the wreath to see where I liked them.
And after I figured out where I wanted them, I hot glued them right onto the DecoMesh.
After I got it home, I decided that I wanted to add a bow to the bottom on the wreath. I used some blue Deco Mesh Ribbon that I had left over from my wedding. It fit right in with the colors of the wreath.
DecoMesh is difficult to make into a bow, so if you have never made a bow before, I wouldn't make your first one using DecoMesh.
 |
| I started out making it "bow" like. |
 |
| I kept wrapping it around. |
 |
| I gathered the ends together and glued it down to hold it into place. |
 |
| I wrapped a small piece around to create the illusion of a bow, and added some tails to it to complete the bow. |

Glued it right on!

Added a pipe cleaner hanger (I bought some tinsel pipe cleaners at the Dollar Tree. $1 for a pack of 45)

I wrapped it around to be sure it was secure!

Ta-da! All finished! Can't wait to be able to hang it up, and it will work all winter because of the Silver, Blue and Green! :)
My biggest caution is to be sure that everything is securely attached before you pick the wreath up, you don't want anything to fall off and break.


 Use the foam brush to put Mod Podge on the Jar and begin attaching the leaves and covering them with Mod Podge to be sure that they are adhered to the jar.

 I used the hot glue to attach the "points" of the leaves to the jar.
 After the Jar was covered with the leaves evenly, I went back and tacked them down anywhere I needed to in order to be sure the leaves were secured.
 I used the foam brush to dab on Mod Podge and made sure to cover all the areas, including the bottom.


