
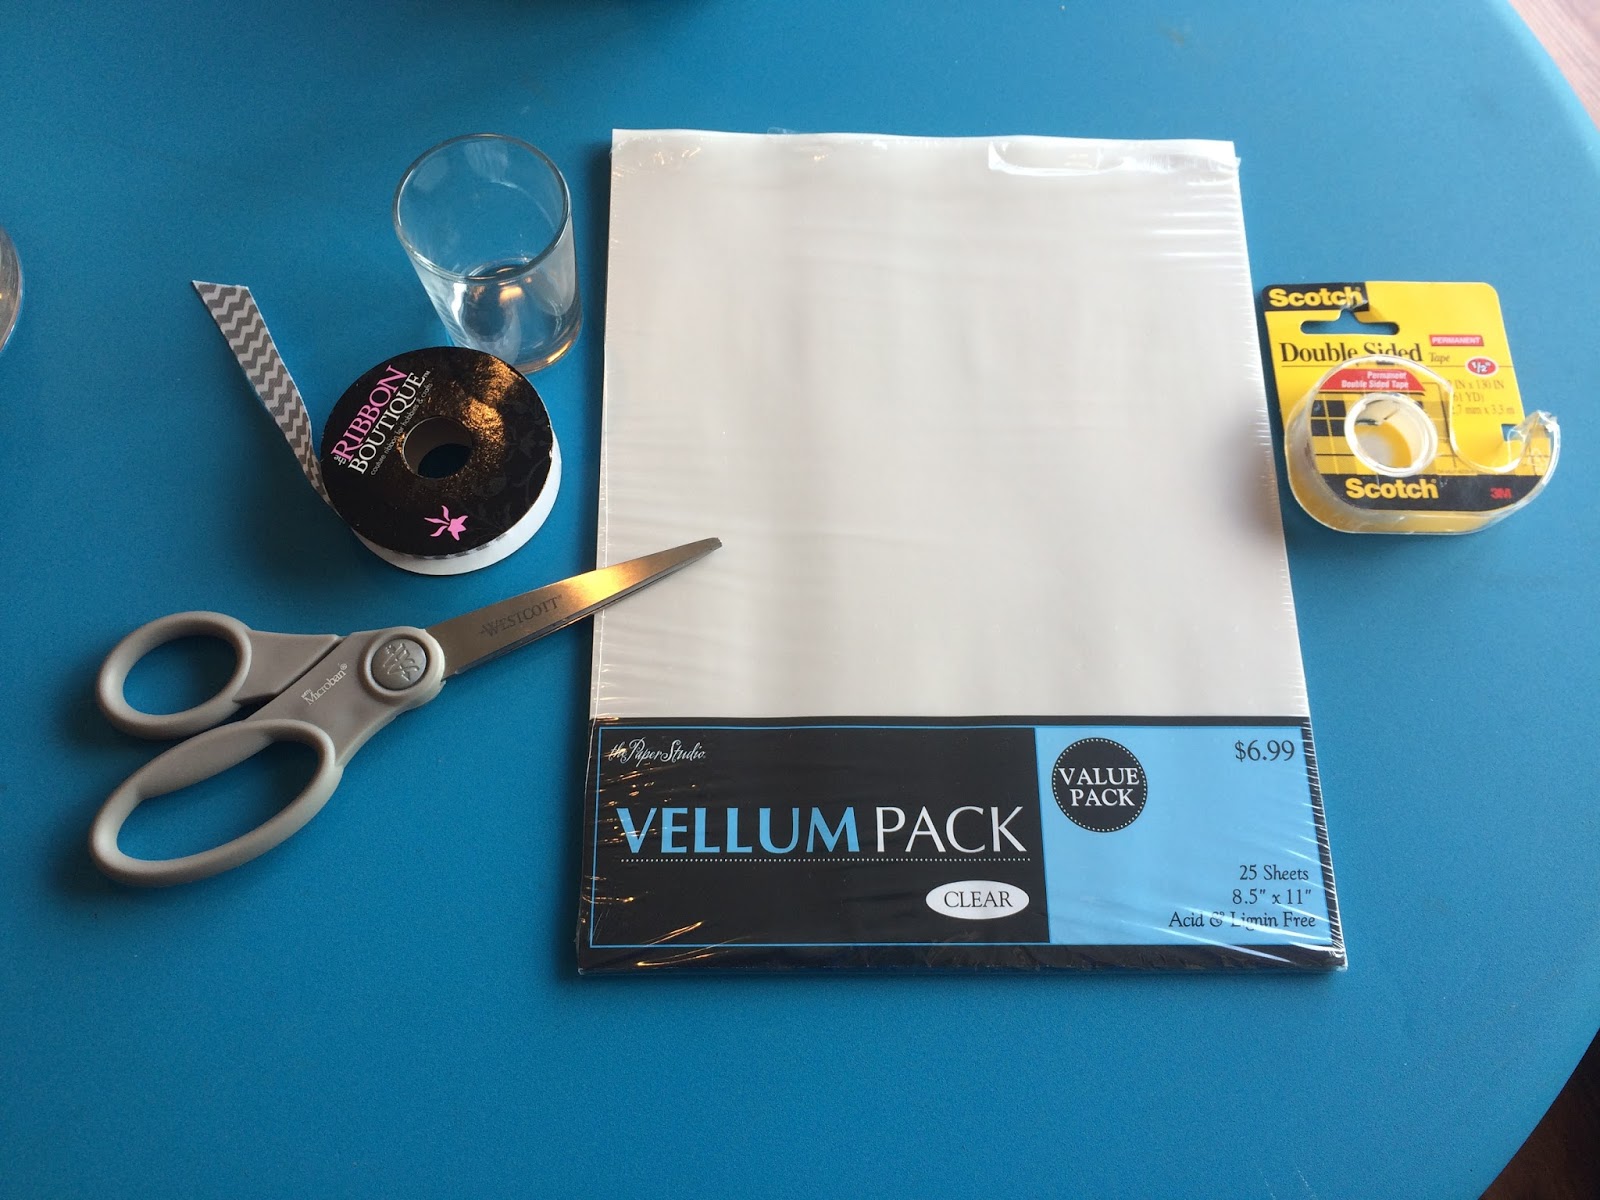
Supplies Needed:
Votive ( I purchased at Crafts 2000 for $.40)
Ribbon (Hobby Lobby $1.99, I purchased when half off)
Scissors (who doesn't have scissors?)
Vellum (Hobby Lobby $6.99, I purchased it when it was half off)
Double Sided Tape (Available at most stores, also available at the Dollar Tree for $1)
Step 1: Clean Votive
Wash it with soap and water, if there is any lingering residue from the label, try nail polish remover, baby oil or even Goo Gone.
Step 2: Print your pictures on vellum
I put my photos into Microsoft Word and scaled them down. My votive was about 2 7/16 tall, so I printed my pictures so they were 3 inches high and then I trimmed them down.
Depending on the orientation of your photo (vertical or horizontal), it will depend how many pictures you need. I did several different ones, and determined that I could use three vertical photos that were about an inch and a half wide each. Or one vertical and one horizontal, or two horizontal, but having to trim quite a bit off. If you are unsure of the size you want the photos, print them in different sizes and try them out.
 |
| Here is a shot of my screen so you can see how I had picture laid out. |
I also wanted all of my pictures to be black and white, so I printed them in grayscale. However, you can use pictures in color, whatever your personal preference is.
 |
| I clicked on printer settings, and them clicked features, and printed it in grayscale. |
Step 3: Cut out pictures

Step 4: Trim down, mine are trimmed down to about 2 7/16, but it will depend on the size of your votive.

Step 5: Attach double-sided tape to the votive. I attached the double-sided tape to the top of the votive and the bottom. It's kind of hard to see, but its there.

Step 6: Attach pictures


Step 7: Attach ribbon with double-sided tape.
Make sure to cover the seems where the pictures meet.


And viola, you have a beautiful and personalized votive candle!

Happy DIY-ing!
:)